Have you ever thought about giving your old furniture a fresh look? A quality sander can be your best companion for furniture makeovers. Whether you're a DIY enthusiast or a professional, the right sander can make a world of difference in your project, ensuring a smooth finish and saving you considerable time and effort.
Understanding the Importance of a Sander
A sander is a powerful tool designed to smooth surfaces using sandpaper or other abrasive materials. It's indispensable in preparing furniture for painting, staining, or refinishing. With the appropriate sander, you can strip off old finishes, smooth rough surfaces, and achieve a uniform texture that enhances the final look of your furniture makeover.
Benefits of Using a Sander for Furniture Makeovers
Sanding isn't just a tedious step but a crucial one. Here are the key benefits of using a sander for furniture makeovers:
- Time Efficiency: Manual sanding can be labor-intensive and time-consuming. An electric sander significantly speeds up the process.
- Consistent Finish: Achieving an even surface by hand is tough. A sander provides a uniform finish that is vital for perfect results.
- Ease of Use: Modern sanders are user-friendly, even for beginners. They reduce physical strain and make the entire sanding process more manageable.
- Versatility: Sanders come with different attachments and sandpaper grits, allowing you to handle various surfaces and detailed work efficiently.
Different Types of Sanders
Choosing the right sander requires understanding the types available and their specific uses. There are several main types of sanders, each designed for particular tasks and surfaces.
Orbital Sanders
Orbital sanders, also known as finish sanders, are ideal for light to medium sanding tasks. They have a square sanding pad that moves in small, circular orbits.
Pros:
- Great for fine finishing work
- Easy to control
- Minimal gouging and scratching
Cons:
- Not suitable for heavy material removal
- May leave swirl marks if not used carefully
Random Orbital Sanders
These sanders combine the circular movement of an orbital sander with a spinning motion, providing a smoother finish without the swirl marks.
Pros:
- Excellent all-around tool
- Versatile for many sanding projects
- Minimal swirl marks
Cons:
- Slightly more expensive than orbital sanders
- Can be heavier and harder to control for detailed work
Belt Sanders
Belt sanders are powerful tools designed for aggressive material removal. They use a looped sanding belt that runs over rollers, providing continuous sanding action.
Pros:
- Highly effective in removing large amounts of material
- Ideal for sanding large, flat surfaces
- Fast and efficient
Cons:
- Can be difficult to handle for beginners
- Possible to sand too much material quickly
- Not suitable for fine finishing
Detail Sanders
Also known as mouse or corner sanders, detail sanders have a pointed, triangular sanding pad designed to access tight spaces and intricate areas.
Pros:
- Perfect for small, detailed work
- Easy to handle and maneuver
- Great for corners and tight spaces
Cons:
- Not suitable for large surfaces
- Limited power and material removal capacity
Drum Sanders
Drum sanders are heavy-duty machines that provide powerful sanding action to large, flat surfaces, typically used in professional workshops.
Pros:
- Extremely efficient for large projects
- Fast material removal
- Consistent, smooth finish
Cons:
- High cost and large size
- Not suitable for small or detailed work
- Requires a learning curve to operate

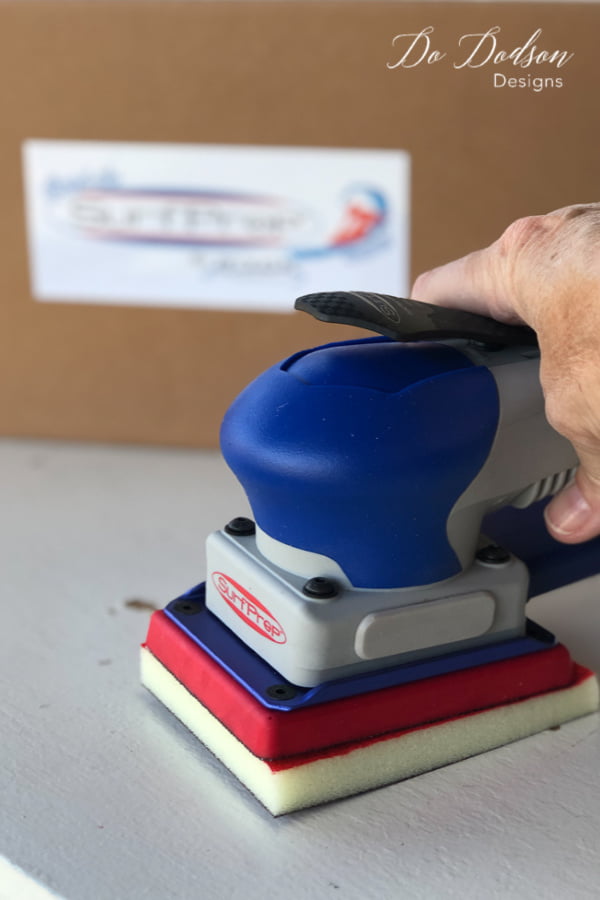
This image is property of dododsondesigns.com.
Choosing the Best Sander for Your Furniture Makeover
Selecting the right sander depends on your specific needs and the type of furniture you're working on. Consider the following factors when making your choice.
Project Size and Scope
The size and complexity of your project will determine the type of sander you need. Larger surfaces or extensive projects might benefit from a belt or drum sander, while smaller, detailed pieces may require an orbital or detail sander.
Surface Type and Material
Different sanders perform better on various materials and surfaces. For example, a belt sander is great for hardwoods and removing varnish, while an orbital sander suits softer woods and delicate surfaces.
Ease of Use and Handling
Comfort and control are crucial, particularly if you're a novice. A lighter, more maneuverable sander may be preferable if you're working on intricate details or if the job requires prolonged sanding.
Dust Collection
Sanding can create a lot of dust. Look for sanders with effective dust collection systems to keep your workspace clean and reduce exposure to harmful particles.
Budget Considerations
Your budget will also play a significant role in your decision. While higher-end models offer advanced features and durability, there are plenty of affordable options that provide excellent performance for DIY projects.
Top Recommendations for Sanders
Here's a closer look at some of the best sanders available for furniture makeovers, highlighting their features, advantages, and potential drawbacks.
Orbital Sanders: Makita BO4556K 4-1/2-Inch Finishing Sander
The Makita BO4556K is a top choice for those seeking a reliable, easy-to-use orbital sander. Its compact design and efficient performance make it ideal for various sanding tasks.
Features:
- Ergonomic rubberized grip for comfort
- Efficient through-the-pad dust collection system
- Large clamping lever for quick and easy sandpaper changes
Pros:
- Lightweight and easy to handle
- Minimal vibration for less fatigue
- Affordable price
Cons:
- Not suited for heavy-duty sanding
- Limited power
Random Orbital Sanders: DEWALT DWE6421K 5-Inch Random Orbit Sander
DEWALT's DWE6421K stands out for its balance of power and finesse. It's versatile, making it perfect for both rough and fine sanding tasks.
Features:
- 3.0-amp motor operates at 12,000 OPM
- Separate counterweight design to reduce vibration
- Dust-sealed switch for durability
Pros:
- Excellent dust collection system
- Ergonomic design for comfortable use
- Smooth and consistent finish
Cons:
- Slightly heavier than other sanders
- Dust bag could be larger
Belt Sanders: Makita 9903 3" x 21" Belt Sander
For those needing a powerful sander for large surfaces, the Makita 9903 is hard to beat. Its robust motor and efficient design make short work of tough sanding jobs.
Features:
- Powerful 8.8-amp motor
- Speed control dial (690-1,440 ft/min)
- Dust bag for cleaner operation
Pros:
- High material removal rate
- Variable speed control for different applications
- Quiet operation compared to other belt sanders
Cons:
- Heavier and bulkier
- Higher price point
Detail Sanders: BLACK+DECKER BDEMS600 Mouse Detail Sander
The BLACK+DECKER BDEMS600 is excellent for intricate work. Its compact and lightweight design makes it perfect for detail sanding in hard-to-reach areas.
Features:
- 1.2-amp motor for 14,000 OPM
- Three-position grip for control
- Detailed finger attachment for tight areas
Pros:
- Small and easy to handle
- Affordable
- Great for detailed work
Cons:
- Not for large areas
- Limited power

This image is property of www.dododsondesigns.com.
How to Use a Sander Effectively
Having the right tool is just the start; using it correctly ensures professional results. Here’s a step-by-step guide to using your sander effectively.
Preparation
-
Choose the Right Sandpaper Grit: Match the grit to your task. Start with coarser grits (60-80) for paint removal or rough surfaces and move to finer grits (150-220) for finishing.
-
Secure the Sandpaper: Attach the sandpaper securely to the sander. Ensure it’s aligned and taut to avoid uneven sanding.
-
Set Up Your Workspace: Ensure good ventilation and wear safety gear such as goggles and a dust mask.
Sanding Process
-
Turn on the Sander: Start with the sander off the surface. This prevents gouging. Once it’s at full speed, gently lower it onto the workpiece.
-
Move with the Grain: Always sand with the grain of the wood to avoid scratches. Move the sander in a systematic pattern, overlapping each pass slightly.
-
Keep It Moving: Avoid staying in one spot too long to prevent uneven sanding. Keep the sander moving at a steady pace.
-
Check Your Progress: Periodically stop to check your work. This helps ensure you’re achieving an even finish without over-sanding any areas.
Final Touches
-
Switch to Finer Grits: As you approach the desired smoothness, switch to finer grits to achieve a polished finish.
-
Clean the Surface: After sanding, wipe down the surface with a tack cloth to remove any dust and debris.
-
Inspect for Imperfections: Look for any remaining rough areas and touch them up as necessary.
Tips for Maintenance and Longevity of Your Sander
To keep your sander in top condition, regular maintenance is crucial. Here are some tips to extend the life of your sander and ensure it performs optimally.
Cleaning and Dust Management
-
Clean After Each Use: Wipe down the sander after each use to remove dust buildup. Use a compressed air canister to blow out dust from hard-to-reach areas.
-
Empty Dust Collection Bags: Regularly empty and clean the dust collection bags or containers to maintain efficient dust extraction.
Checking and Replacing Parts
-
Inspect Power Cords: Check for any wear or damage on power cords. Replace immediately if any frayed wires or other damage is detected.
-
Monitor Sandpaper Wear: Regularly check sandpaper for wear and tear. Replace it as needed to ensure efficient sanding.
-
Lubricate Moving Parts: Periodically lubricate the sander's moving parts as per the manufacturer’s recommendations to keep them functioning smoothly.
Storage
-
Store Properly: When not in use, store your sander in a dry, clean area. Use protective cases or covers to prevent dust accumulation and damage.
-
Avoid Extreme Conditions: Keep the sander away from extreme temperatures and moisture, which can cause rust or degrade plastic components.

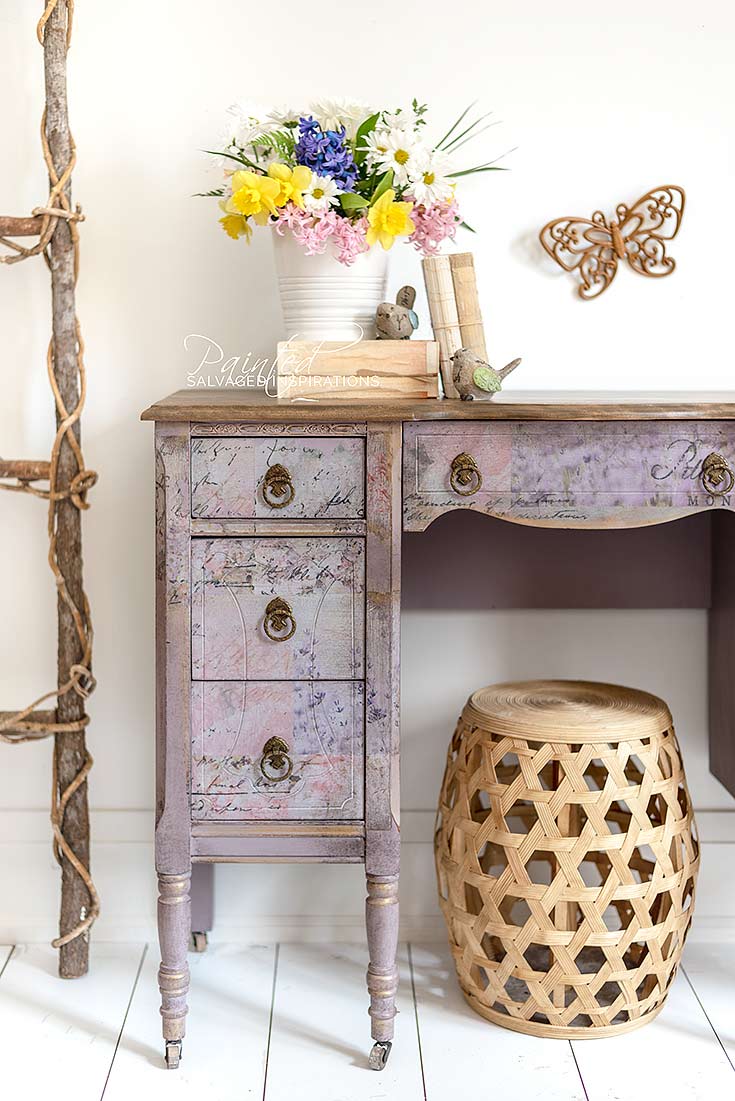
This image is property of salvagedinspirations.com.
Conclusion
Choosing the best sander for furniture makeovers involves understanding the different types of sanders and matching them to your specific needs. From orbital to belt sanders, each type offers unique benefits tailored to different tasks within your project. By considering factors such as ease of use, project scope, and budget, you can select the perfect tool to transform your furniture into something new and beautiful. Remember, the right sander, combined with proper technique and maintenance, can make your DIY furniture makeovers not only easier but also more enjoyable and rewarding.
In this journey of furniture rejuvenation, the sander isn't just a tool—it's your partner in bringing a fresh lease of life to your beloved pieces. Happy sanding!


