If you're looking to refresh your home decor without spending hours sanding old furniture, you're in the right place! In "How to Paint Furniture without Sanding," you will discover simple yet effective techniques to transform your pieces effortlessly. You'll learn about the right materials, quick tips, and step-by-step instructions to achieve a smooth, professional finish. Say goodbye to sanding dust and hello to a colorful new look for your beloved furniture. Dive in and let's get started on your next DIY project! Have you ever thought about giving your old furniture a fresh new look without the hassle of sanding? If that's the case, you're in luck! We're diving deep into the world of painting furniture without sanding. It's a topic that's bubbling with excitement because everyone loves a shortcut that saves time and energy while still delivering stunning results.

This image is property of i.ytimg.com.
Why Skip the Sanding Step?
You may be wondering why you should skip sanding. Well, sanding can be a tedious and time-consuming task. Additionally, it can create a lot of dust and mess, which isn't always ideal, especially if you're working indoors. By skipping sanding, you can cut down your project time significantly and keep your workspace cleaner.
Furthermore, some pieces of furniture might be too delicate to sand. Delicate wood types or intricate carvings might lose their details if sanded, so avoiding this step helps preserve the character and integrity of your furniture.
Essential Supplies You'll Need
Before we start painting, let's gather the necessary supplies. Having everything on hand will make your project more efficient and enjoyable. Here's a list of essentials for painting your furniture without sanding:
| Supplies | Description |
|---|---|
| Degreaser/Cleaner | Removes any dirt, grease, or grime from your furniture to ensure good paint adhesion. |
| Primer | A quality bonding primer will help the paint adhere to the furniture better. |
| Paint | Choose a durable paint suitable for your furniture type. |
| Paint Brushes/Rollers/Sprayers | Depending on the finish you want, choose the appropriate applicator. |
| Drop Cloths | Protect your floors and other surfaces from paint spills and drips. |
| Painter's Tape | To mask off areas you don't want to paint. |
| Sandpaper (optional) | For lightly roughing up the surface if absolutely necessary. |
| Paint Tray | Makes it easier to load your brush or roller with paint. |
| Topcoat/Sealant | To protect the paint and extend the life of your beautiful work. |
Preparing Your Furniture
Preparation is key to achieving a smooth and long-lasting finish. Even though we are skipping the sanding step, there are still important preparation steps to follow.
Cleaning Your Furniture
The first task is to thoroughly clean your furniture. Dust, dirt, grease, and other contaminants can hinder the paint from adhering properly. Use a quality degreaser or cleaner and a soft cloth to clean every inch of your furniture. Pay special attention to handles, knobs, and other intricate areas where grime often builds up.
Repairing Any Damages
Inspect your furniture for any damages. If you find any cracks, chips, or loose parts, it's crucial to fix them before you start painting. Use wood filler for minor gaps and cracks, and for larger repairs, you may need wood glue or small clamps. Allow any repairs to fully dry and cure according to the product instructions.
Primer – The Unsung Hero
Using a good quality primer can make or break your project. Primers serve as a bonding layer between the furniture surface and the paint, ensuring that the paint adheres well and lasts longer. Opt for a primer that specifically mentions "no sanding" on the label to be confident about getting the best results.
Here’s an easy guide on how to apply the primer:
- Mask off Areas: Use painter's tape to cover areas you don't want painted.
- Apply Primer: Use a good quality brush or roller to apply an even layer of primer. Make sure to cover all surfaces, including nooks and crannies.
- Let it Dry: Allow the primer to dry completely before moving on to painting. Follow the manufacturer's drying time recommendations, which is usually about 1-3 hours.
Choosing the Right Paint
Selecting the right type of paint is crucial for a beautiful and durable finish. The choice can depend on the material of your furniture and the look you want to achieve.
Types of Paint
| Paint Type | Best For | Finish Options | Pros | Cons |
|---|---|---|---|---|
| Chalk Paint | Gives a vintage or shabby chic look. | Matte | Easy to distress for an antique look, no need for a topcoat (optional). | Can be prone to chipping and requires waxing or sealing for durability. |
| Milk Paint | Ideal for a rustic or farmhouse style. | Flat, Antique | Non-toxic, can be used to create a variety of effects, easy to distress. | Requires a bonding agent for best adherence. |
| Latex Paint | Versatile and available in many colors. | Flat, Satin, Semi-Gloss | Easy to clean, durable, a wide variety of finishes. | May require a topcoat for high-traffic surfaces, can show brush strokes. |
| Oil-Based Paint | Best for high durability requirements, like kitchen cabinets. | Gloss, Semi-Gloss | Extremely durable, provides a smooth finish. | Long drying time, strong fumes, requires mineral spirits for clean-up. |
| Acrylic Paint | Great for detailed work or smaller pieces of furniture. | Matte, Satin, Gloss | Water-based, easy to clean, less odor, flexible for different surfaces. | May not be as durable as latex or oil-based paints, might need a topcoat for extra protection. |
Selecting a Color
Choosing a color can be both exciting and daunting. Think about the room where your furniture will reside. Do you want a bold statement piece or something more muted and blending? Here are a few tips to help you select the right color:
- Neutral Colors: These colors, such as white, black, or gray, are timeless and versatile, fitting into practically any décor.
- Bold Colors: A piece in a bold color can serve as a focal point. Think turquoise, bright red, or mustard yellow.
- Pastels: Soft pastels like mint green, baby blue, or blush pink can add a subtle, calming effect to your room.
Testing out a small patch before fully committing can save you from any color regret later on.
Painting Techniques
You’re finally ready to apply paint to your furniture! The techniques you use can vary depending on the type of paint and the finish you desire.
Brushing vs. Rolling vs. Spraying
| Method | Pros | Cons | Best For |
|---|---|---|---|
| Brushing | Great for intricate details, easy to control application. | May show brush stroke marks, slower process for larger areas. | Smaller or detailed pieces, working around trims or carvings. |
| Rolling | Even application, faster for covering large flat surfaces. | Might not reach nooks and crannies, requires frequent reloading of paint. | Large, flat surfaces like tabletops, dresser fronts. |
| Spraying | Smooth, professional-looking finish, fastest method for large areas. | Requires more preparation (masking off areas), potential for overspray, need for ventilation. | Large pieces or those with many details where brush might leave too many stroke marks. |
Step-by-Step Painting Guide
-
Start Edges and Corners First:
- Use a brush to get into corners, nooks, and crannies that a roller can’t reach.
-
Apply Thin, Even Coats:
- Whether you’re using a brush, roller, or sprayer, multiple thin coats provide a smoother finish than one thick coat.
-
Follow the Grain:
- If your furniture has visible wood grain, paint in the direction of the grain to maintain the natural look.
-
Drying Time:
- Allow each coat to dry completely before adding another. Follow the paint manufacturer’s recommendations for drying times.
-
Light Sanding Between Coats (optional):
- For an ultra-smooth finish, lightly sand between coats using fine-grit sandpaper (220 grit), then wipe off the dust before applying the next coat.
-
Final Coat:
- Apply a final coat of paint and let it cure as per the manufacturer’s instructions.

This image is property of i.ytimg.com.
Finishing Touches
After you've completed painting, it’s important to protect your work for the long term. This is where a good topcoat or sealant comes in.
Applying a Topcoat
A topcoat will protect your painted furniture from everyday wear and tear, keeping it looking fresh and beautiful. Here are a few options:
| Topcoat Type | Best For | Application Tips |
|---|---|---|
| Polycrylic | Water-based, clear coat suitable for painted furniture. | Apply with a brush or roller, dries quickly, low odor. |
| Polyurethane | Oil-based, provides a durable finish, suitable for high-use furniture like dining tables. | Has a strong odor, apply in a well-ventilated area, allow extended drying time between coats. |
| Wax | Suitable for chalk-painted furniture. | Can be buffed to a sheen, needs to be reapplied periodically. |
| Water-Based Sealer | Eco-friendly option, easy to clean, suitable for light to medium-use furniture like bedroom pieces. | Apply in thin coats with a brush or sprayer, multiple coats may be needed for better protection. |
Reattaching Hardware
Once the topcoat is dry, reattach any hardware that was removed during the preparation phase. Consider updating the hardware for an extra touch of refinement. New knobs, handles, and hinges can give your piece an entirely new look.
Adding Felt Pads
If you’re placing the furniture on a hardwood or tile floor, consider adding felt pads to the bottom. This will help prevent scratches and make moving the item much easier.
Caring for Your Newly Painted Furniture
To ensure your furniture maintains its beauty for years to come, follow these care tips:
- Dust Regularly: Use a soft cloth to dust your furniture regularly.
- Avoid Harsh Cleaners: Stick to gentle, non-abrasive cleaning products. Harsh chemicals can damage the paint.
- Protect from Direct Sunlight: Prolonged exposure to direct sunlight can cause the paint to fade over time.
- Use Coasters and Mats: Protect the surface from hot dishes, spills, and scratches by using coasters and mats.

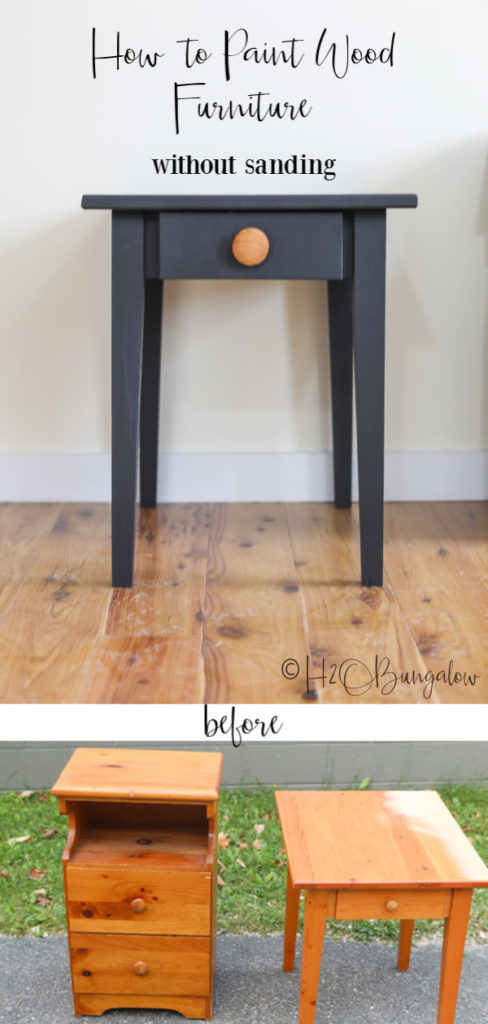
This image is property of h2obungalow.com.
Common Questions and Troubleshooting
Even with the best preparation and techniques, sometimes issues can arise. Here are some common questions and troubleshooting tips to help you out.
Why is My Paint Not Sticking?
This can happen if the surface wasn’t cleaned properly or if a primer wasn’t used. Clean the area again, apply a bonding primer, and then repaint.
How Do I Get Rid of Brush Strokes?
Sand the surface lightly between coats with fine-grit sandpaper. Also, consider using a paint conditioner, which can help the paint to level out and minimize brush strokes.
What If I Notice Drips After the Paint Has Dried?
If you catch drips while they’re still wet, smooth them out immediately. If the paint has already dried, use fine-grit sandpaper to smooth the area and then touch it up with paint.
Can I Paint Laminate Furniture?
Yes, but it requires a good bonding primer. Use a primer specifically made for slick surfaces to ensure proper adhesion.
Final Thoughts
Painting furniture without sanding is not only possible but can also be a rewarding project that transforms old pieces into stunning focal points in your home. By taking the right steps to prepare, selecting appropriate materials, and applying techniques with care, you can achieve a professional-looking finish without the hassle and mess of sanding.
So go ahead, pick up that brush and paint can, and breathe new life into your furniture with confidence. Happy painting!

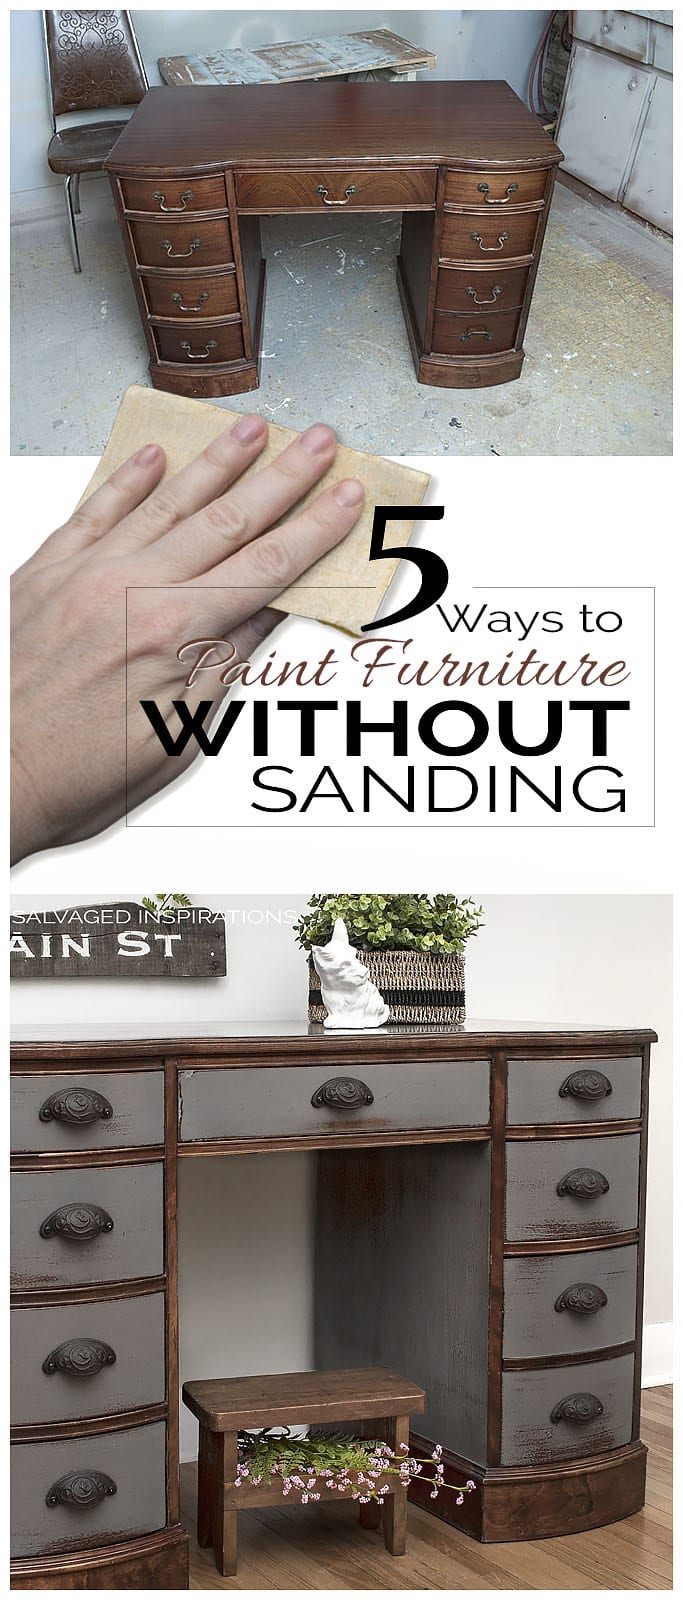
This image is property of salvagedinspirations.com.


